")
[ad_1]
Testing your microphone and webcam earlier than a web based assembly will help you determine potential points earlier than they turn out to be a waste of time or embarrassing. This is easy methods to verify whether or not your microphone and webcam are configured and functioning accurately in Home windows 11.
1. Check the Webcam Earlier than Your Assembly
There are two kinds of webcams: built-in and exterior. In case your PC has an built-in webcam, use the Digicam app to check it—kind “digicam” in Home windows Search to open this app. You already know your webcam is optimally configured should you get high-quality footage with none errors. Ensure to take away any webcam covers!

Exterior webcams usually include devoted software program to handle their operation. Strive opening the official app and seeing how good the visuals are. This pre-meeting verify will help you affirm that your exterior webcam is related and functioning.
2. Check the Microphone You Plan to Use
When utilizing an exterior microphone, join it to your system and begin the check like this:
- Proper-click the Begin button and choose Settings.
- Choose System > Sound.
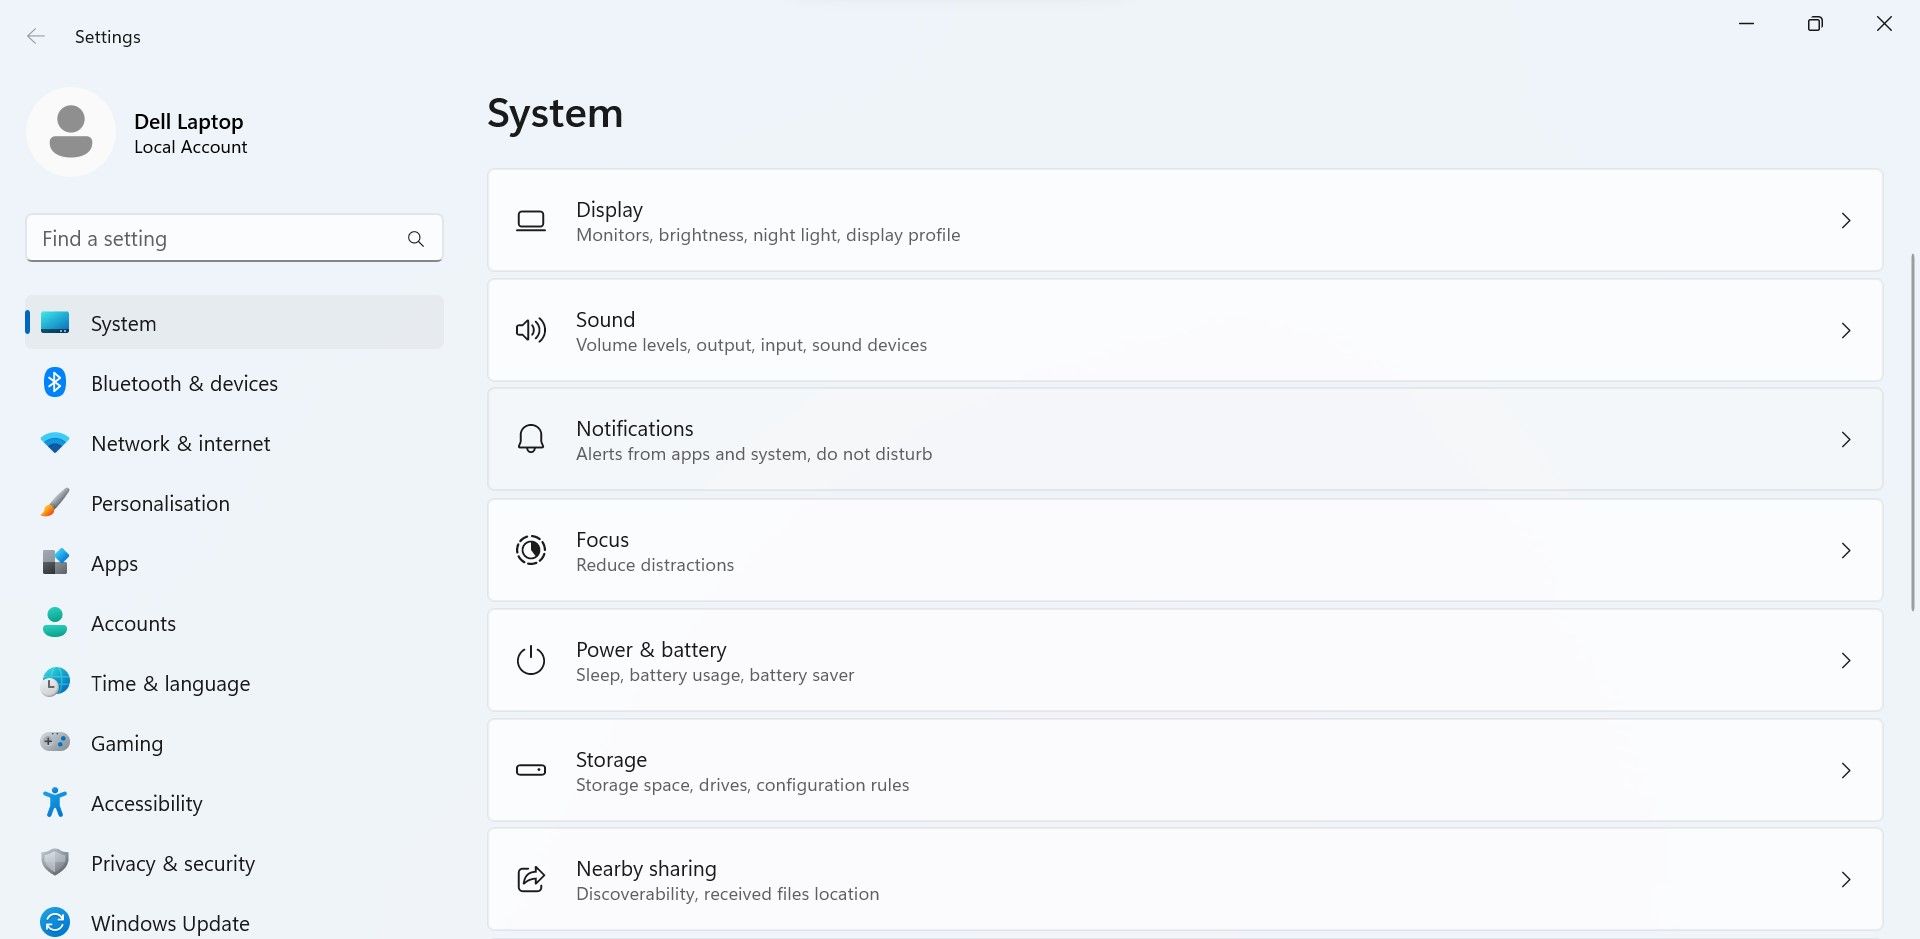
- Within the Enter part, choose the microphone you want to use (if in case you have a couple of related) and open its settings.
- Be certain that the Enter quantity slider is not set too low.
- Click on on Begin check.
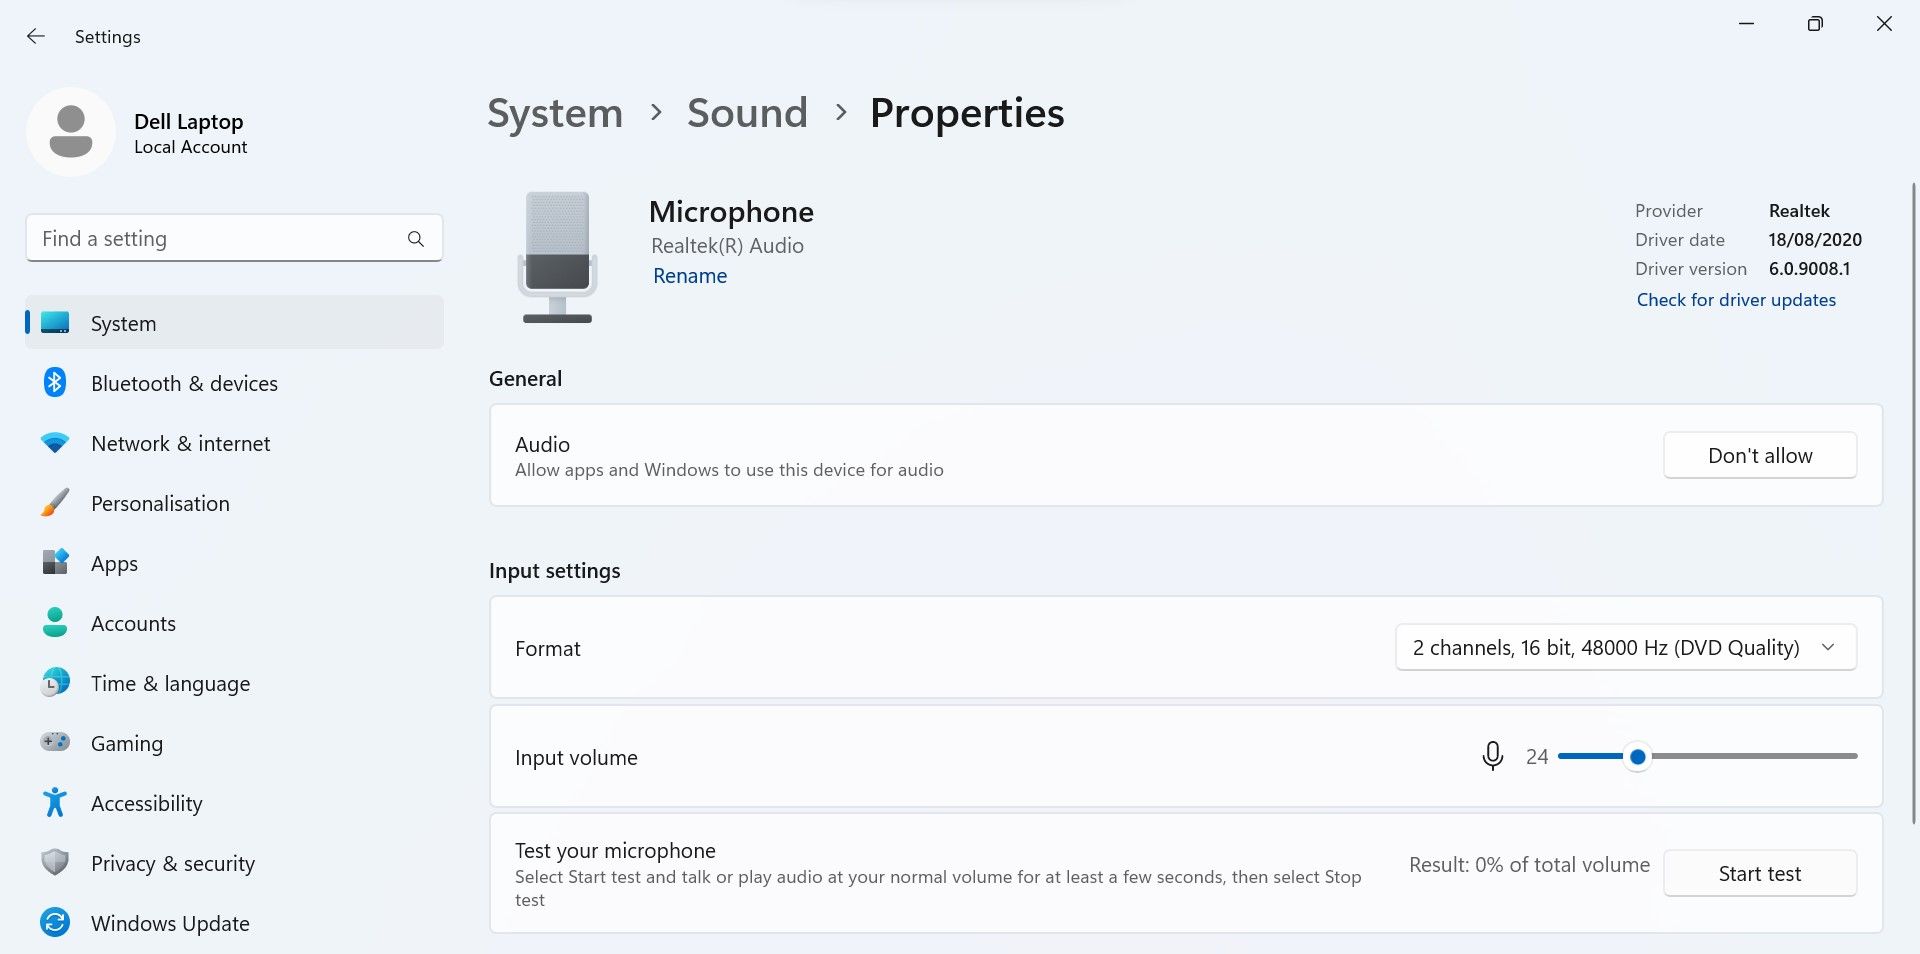
- Communicate into your microphone briefly and click on the Cease check button.


Subsequent to the Begin check button, you will see the outcome as a share of whole quantity. A quantity above 75 is right, nevertheless it should not be under 50. One thing might be incorrect if the share is decrease than that, or in case your microphone does not choose up your voice clearly. In that case, troubleshoot your microphone and check it once more. Ensure you haven’t any on-mic mute buttons enabled.
3. Choose Your Finest Microphone because the Default
You possibly can skip this step in case your system’s built-in microphone is the one possibility you could have for voice enter. Nonetheless, if you wish to use a microphone with higher constancy, it is sensible to make it your default system. To alter your default microphone, comply with these steps:
- Open Settings.
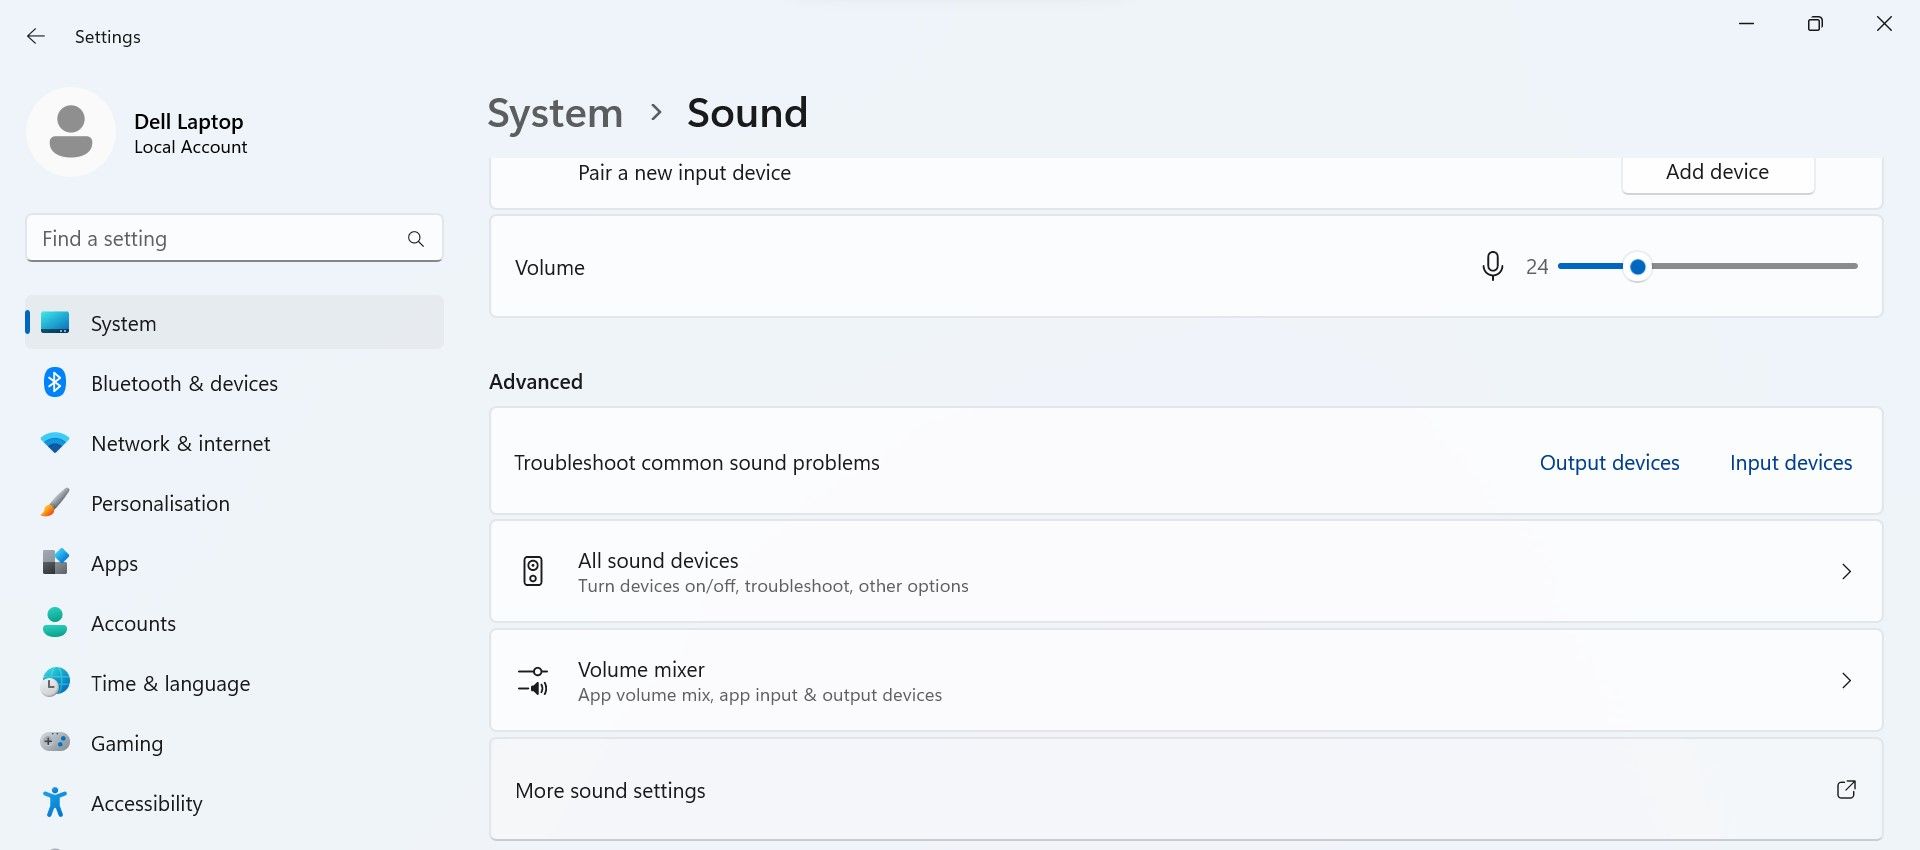
- Go to System > Sound.
- Scroll to the Superior settings and click on Extra sound settings.
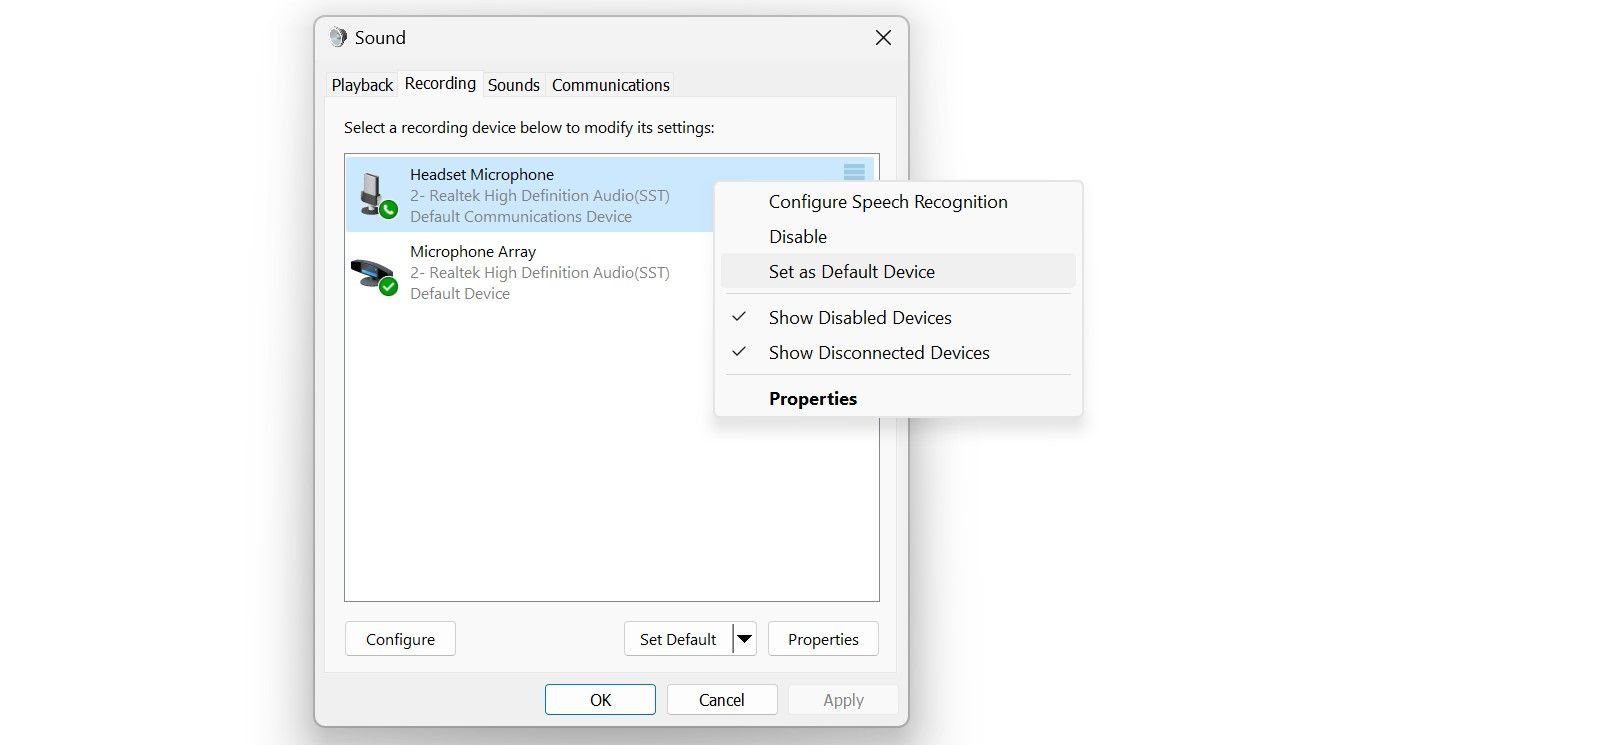
- Choose the Recording tab.
- Find the microphone system you need to make your default, right-click on it, and choose Set as Default System.


4. Set Your Most well-liked Webcam because the Default
Not like microphones, you’ll be able to’t straight select a digicam because the default. As an alternative, you need to flip off each digicam apart from the one you propose to make use of. This is how to do that:
- Proper-click the Begin button and choose Settings.
- Choose the Bluetooth & gadgets tab on the left and go to Cameras on the correct pane. Right here, you’ll be able to see all of the cameras which can be related.

- Open the settings of the system you need to disable.
- Click on the Disable button and the Sure to verify the change.
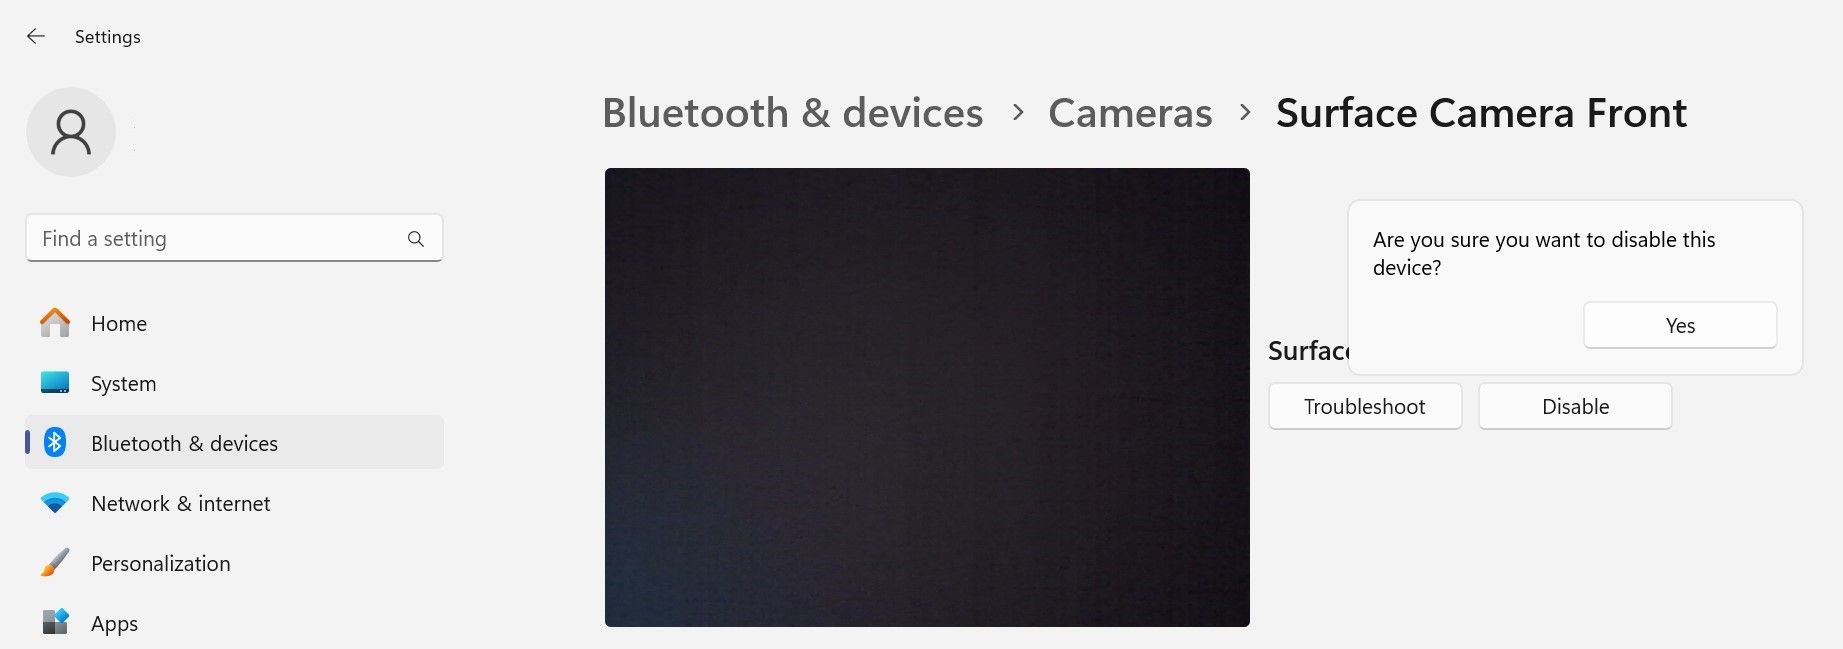


Repeat this course of for all different digicam gadgets you need to flip off. With all different cameras disabled, Home windows will use the one enabled system as your major digicam.
5. Examine Microphone and Digicam Permissions
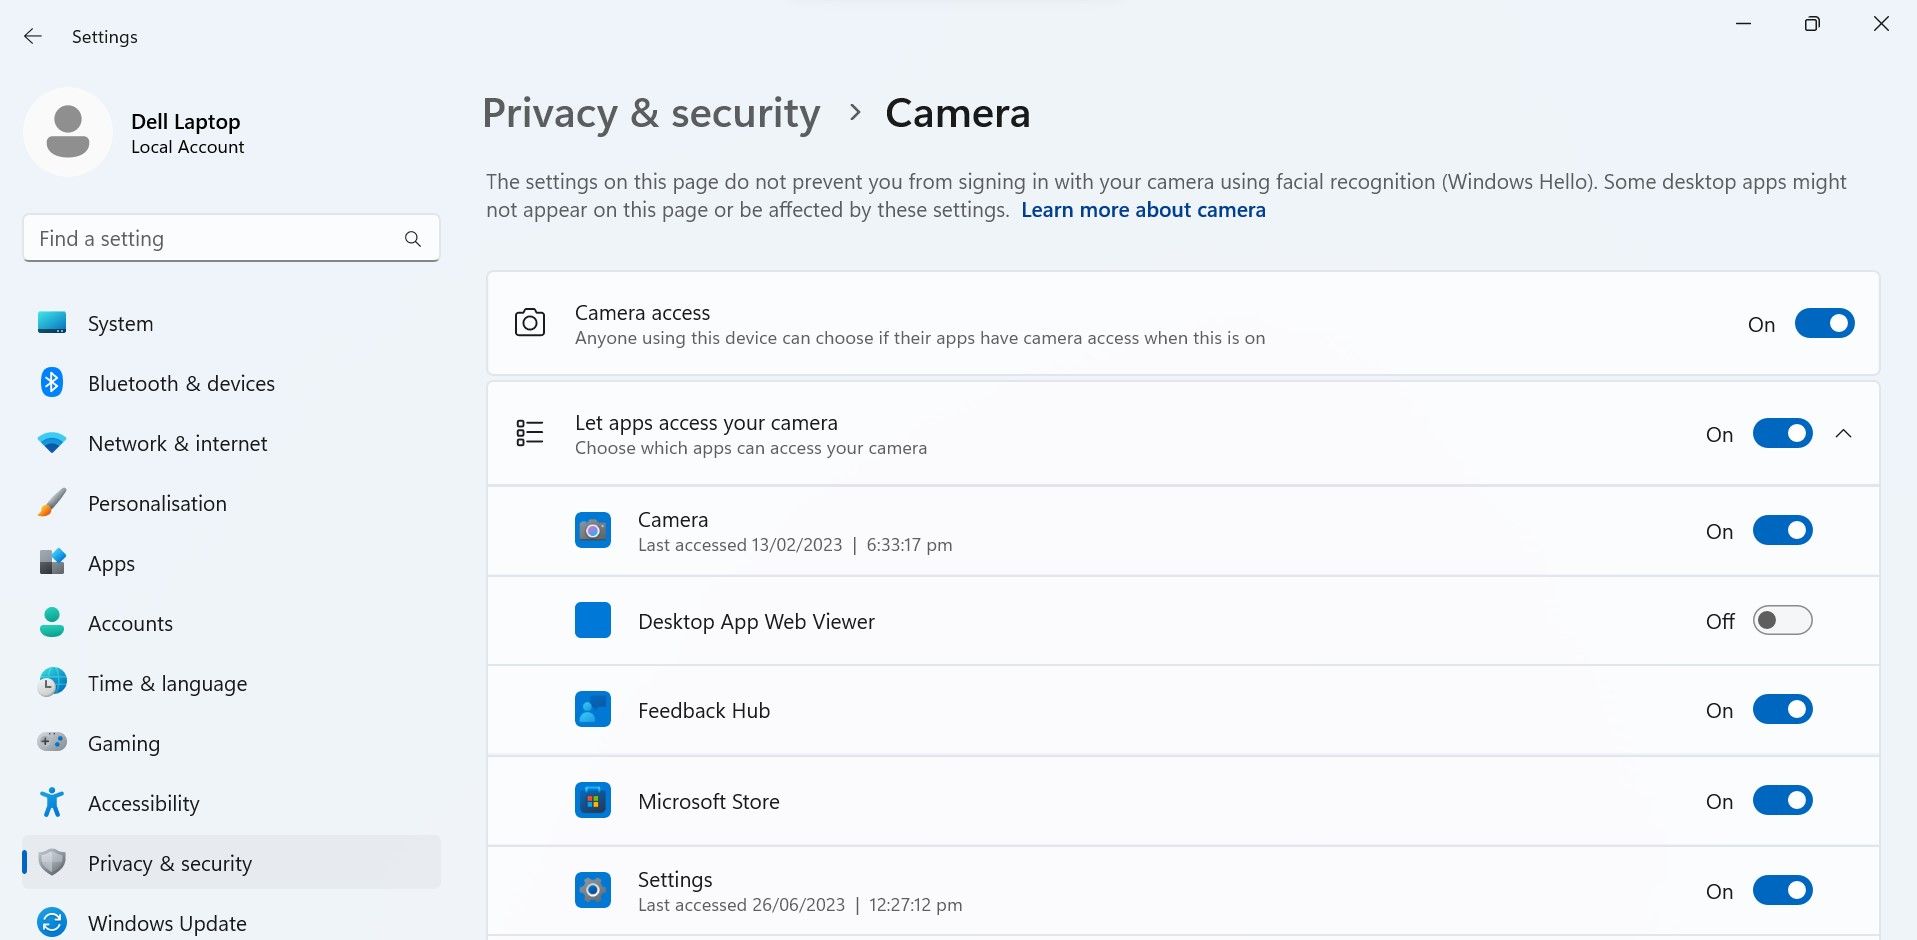
The video conferencing app you need to use for a web based assembly should have permission to entry your digicam and microphone. If the app’s entry to those gadgets is blocked, Home windows will not let the app use them. To permit an app to entry your default digicam, comply with these steps:
- Open Settings.
- Choose Privateness and safety on the sidebar.
- Scroll to the underside of the web page till you see the App permissions part.
- Click on Digicam.
- Make sure the toggles subsequent to Digicam entry and Let apps entry your digicam are turned on. If not, flip them on.
- Additionally, verify the toggle subsequent to the app you propose to make use of for video conferencing is switched on.

To ensure the app you need to use has entry to your default microphone, go to Settings > Privateness and safety > Microphone. Then, allow the toggles subsequent to Microphone entry, Let apps entry your microphone, and the app you need to use to your on-line assembly.

6. Disable Unique Management of Your Microphone
The Unique Mode checkbox permits a program to fully management an audio system. When that occurs, the audio system turns into unavailable for different apps. Enabling this characteristic results in audio issues more often than not, so we advocate turning off this characteristic earlier than your assembly begins. This is how:
- Open Settings.
- Navigate to System > Sound.
- Click on on Extra sound settings.
- Proper-click in your default microphone system and choose Properties.
- Choose the Superior tab.
- Uncheck the field beside Permit functions to take unique management of this system.

7. Unmute the Microphone and Digicam in Your Video Conferencing App
Most video conferencing functions immediate you to unmute your microphone and webcam (in the event that they’re muted) once you launch them. Nonetheless, double-check that you have not muted the microphone and the digicam is not blocked in your video conferencing app. It’s essential to additionally guarantee your default microphone and digicam are chosen within the app’s settings.
The method to verify that varies for every software. For those who’re unfamiliar with it, verify the app developer’s web site for directions.
A defective or incorrectly configured microphone or digicam can simply destroy a essential video convention. Take the above steps to make sure that your microphone and audio are arrange accurately and that there aren’t any {hardware} points earlier than your assembly begins.
[ad_2]